
Happy Holidays everyone!
I have a dear friend in Houston and he told me that he didn't receive any Christmas gifts this year - that the holiday gift giving was just for kids. Well, who isn't a big kid at heart?
I wanted to remedy that with a gift that says "Hi, Happy Holidays!" with each bite. The one that caught my eye was the chocolate pinwheel cookie. I mean there's just something about it. Maybe cause it's spiral, maybe it's pretty, maybe cause it's just delicious. We all hear about a gazillion cookie recipes during the holidays and I'm glad this one is now in my box.
I just adapted the recipe from SugaryWinzy that everyone has loved (seriously that's great!) - simply put I just cut the recipe in half.
I hope my friend likes it and feels the love and friendship in each bite. That's what the holiday spirit and gift giving is all about anyway.
Chocolate Pinwheel cookies
Adapted from SugaryWinzy.com
Yield: Makes 1 log worth of pinwheel cookies
1/2 cup butter
1/2 cup sugar
1 egg yolk
2 teaspoons vanilla extract
1 tablespoons milk
1 and 1/2 cups flour
1/2 tablespoon baking powder
3 tablespoons unsweetened cocoa
mixed with 1 tablespoons melted butter and 1 tablespoons milk
1.
Melt 1 tablespoon butter in 1 tablespoon milk for a few seconds
in the microwave.
2.
Mix in the 3 tbsp of cocoa to the warm mixure and mix well

3.
Cream butter and sugar until light and fluffy.
4.
Add egg yolks, vanilla and 1 tbsp of milk one at a time beating
well after each addition.
5.
Gradually add the sifted dry ingredients and mix well. I don’t
have a stand mixer on hand, so I just used my hand.

6.
Divide dough. Remove about ¾ of the dough and set aside. That
portion will be the vanilla dough.

7.
To the dough remaining in the mixing bowl, add the chocolate
mixture and beat until fully incorporated. This forms the chocolate dough.
8.
On a sheet of waxed paper, roll vanilla dough into a rectangle
around 7” in width and 8” in length. Repeat with the chocolate dough.

9.
Flip rolled chocolate dough onto vanilla dough and peel off
waxed paper. Lightly press the surface with a rolling pin to adhere both the
vanilla and chocolate dough.
** So my log was not pretty but it worked out - you might need to play around with the moisture content - you can use a teaspoon of milk here and there for the best consistency
** So my log was not pretty but it worked out - you might need to play around with the moisture content - you can use a teaspoon of milk here and there for the best consistency
10.With the short end
facing you, roll the dough tightly into a log, wrap in plastic wrap and chill
in refrigerator.
11.After about 30 minutes
take the logs out of the refrigerator and roll on the counter to retain the
circular shape and prevent one side from flattening.
12.Wrap tightly again in
plastic wrap, place in freezer-safe container and freeze for about an hour or
store in freezer and bake as needed.
13.When ready to bake,
pre-heat oven to 325 F.
14.Thaw cookie log just
slightly and slice to about ¼ thickness with a sharp knife.
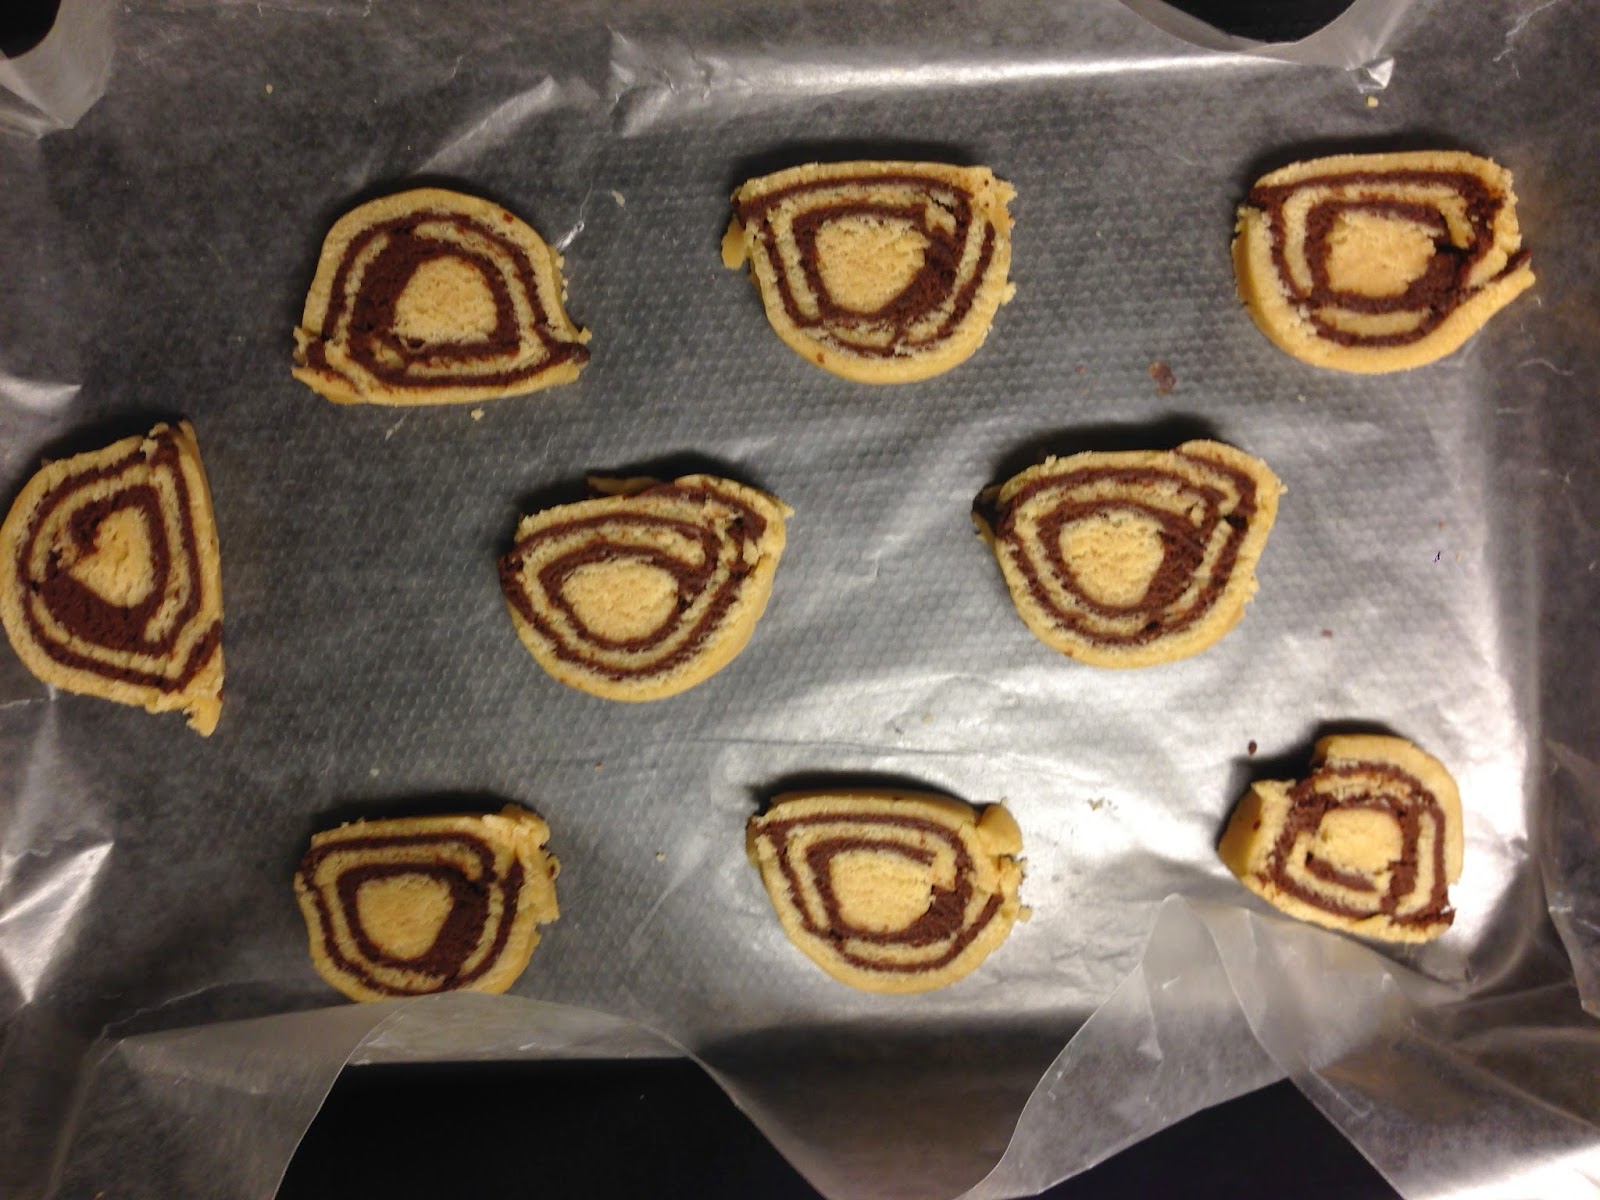
15.Place cookie slices on
a cookie sheet lined with parchment paper and bake for 15 to 20 minutes.
16.Remove cookies from
pan and place in cooling rack to cool.
17. Eat or wrap and send
it to your friend (wherever he or she is)
Please try out the recipe and let me know how it works out! I'm sure SugaryWinzy would love more and more positive feedback :-)
Happy Holidays
Kartik
No comments:
Post a Comment